Plugins
Plugins are modular extensions that enhance the capabilities of ElizaOS agents. They provide a flexible way to add new functionality, integrate external services, and customize agent behavior across different platforms.
Key Improvements in V2
- Unified API: Almost everything is accessible via
runtime.methodName()in the agent runtime for simpler development - Enhanced Model System: The new
useModelapproach allows for flexible model provider registration - Events System: Formal support for event-based programming
- Plugin Creation Workflow: Simplified creation and testing via CLI
- Testing Infrastructure: Built-in support for plugin testing
- No Monorepo Required: Complete plugin development without touching the core codebase
- Plugin Registry: Manages the catalog of available plugins and handles their registration with the runtime
- Bootstrap Plugin: Initializes core functionality required for all agents to operate
The ElizaOS plugin system maintains the same basic concept as previous versions, with several new extension points (events, routes, tests, models) and features that significantly improve the developer experience.
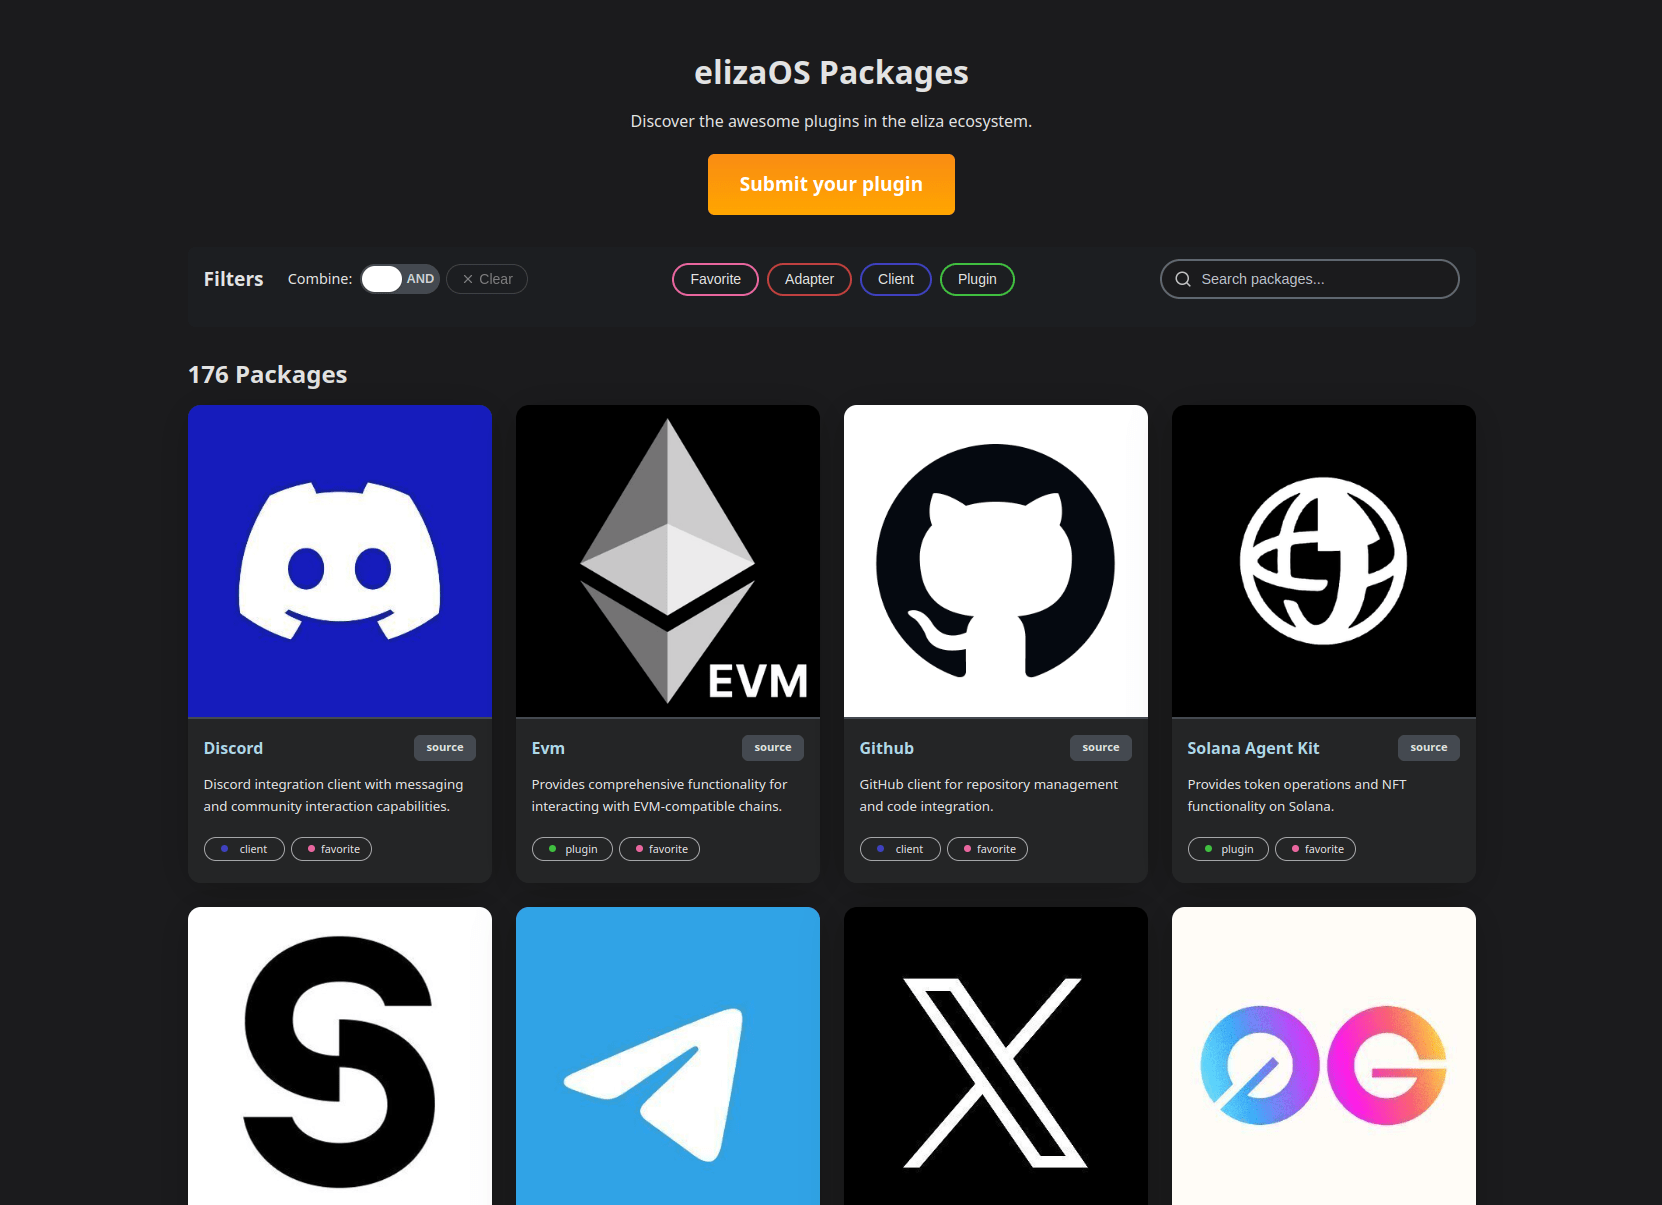
Browse plugins the elizaOS community made here: Package Showcase
elizaOS maintains an official package registry at github.com/elizaos-plugins/registry.
Quick Start
The new CLI tool introduces a streamlined workflow for plugin development without ever needing to touch the ElizaOS monorepo directly:
- Create:
npm create eliza- Initialize a new plugin project with proper structure - Develop: Edit the plugin code in the generated project structure
- Test:
elizaos test- Test the plugin functionality - Run:
elizaos start- Run the plugin with a default agent - Publish:
elizaos publish- Share your plugin with others
Note: at time of publishing, use
npm create eliza@betauntil main version is uploaded
Creating a New Plugin
You can create a new ElizaOS plugin using the CLI:
# Using npm
npm create eliza@beta

# Or using npx
npx create-eliza
When prompted, select "Plugin" as the type to create. The CLI will guide you through the setup process, creating a plugin with the proper structure and dependencies.
Managing Plugins
There are several ways to add plugins to your ElizaOS project:
- Via package.json
- Via Character Definition
- Via CLI Commands
{
  "dependencies": {
    "@elizaos/plugin-solana": "github:elizaos-plugins/plugin-solana",
    "@elizaos/plugin-twitter": "github:elizaos-plugins/plugin-twitter"
  }
}
// In src/index.ts
export const character: Character = {
  name: 'MyAgent',
  plugins: ['@elizaos/plugin-twitter', '@elizaos/plugin-example'],
  // ...
};
# Add a plugin
elizaos plugins add @elizaos/plugin-twitter

# Remove a plugin
elizaos plugins remove @elizaos/plugin-twitter

# List available plugins
elizaos plugins list
Plugin Configuration
Configure plugin settings in your character definition:
{
  "name": "MyAgent",
  "plugins": ["@elizaos/plugin-example"],
  "settings": {
    "example": {
      "enableFeatureX": true
      // Plugin-specific configuration
    }
  }
}
Plugin Loading Process
The AgentRuntime automatically loads the Bootstrap Plugin during initialization, before any other plugins:
async initialize() {
  // Register bootstrap plugin
  await this.registerPlugin(bootstrapPlugin);

  // Then register additional plugins
  for (const plugin of this.plugins) {
    await this.registerPlugin(plugin);
  }

  // Initialize other components
  // ...
}
Publishing Plugins
If you're a plugin developer, you can publish your plugin to make it available to others. The ElizaOS CLI provides several options for publishing your plugin depending on your needs.
First, make sure your plugin is built and ready for distribution:
# Navigate to your plugin directory
cd my-eliza-plugin

# Build your plugin
npm run build
- GitHub Publishing
- npm Publishing
- Test Mode
- Additional Options
Publishing to GitHub is the recommended approach for sharing your plugin with the ElizaOS community:
# Publish to GitHub
elizaos publish
This will:
- Build and package your plugin
- Create or update a GitHub repository in the elizaos-plugins organization
- Add your plugin to the ElizaOS registry (if you're a registry maintainer)
For first-time publishers, the CLI will guide you through setting up GitHub credentials for publishing.
GitHub publishing is ideal for open-source plugins that you want to share with the community and have listed in the official registry.
You can also publish your plugin to npm:
# Publish to npm
elizaos publish --npm
This allows users to install your plugin using standard npm commands:
npm install @your-scope/plugin-name
npm publishing is useful when you want to:
- Maintain your own package namespace
- Integrate with existing npm workflows
- Set up automated versioning and releases
Make sure your package.json is properly configured with the correct name, version, and access permissions.
Before publishing, you can validate the process without making any external changes:
# Test the publish process
elizaos publish --test
This runs through all the packaging and validation steps without actually publishing anything.
Test mode is helpful for:
- Verifying your plugin structure is correct
- Ensuring all required files are present
- Checking that dependencies are properly configured
- Validating that your plugin can be built successfully
Always run in test mode before your first public release to avoid issues.
The publish command supports several additional options to customize the publishing process:
# Specify platform compatibility
elizaos publish --platform node

# Set custom version number
elizaos publish --version 1.2.3

# Provide a custom registry URL
elizaos publish --registry https://custom-registry.com

# Publish with public access
elizaos publish --access public
These options give you fine-grained control over how and where your plugin is published. Refer to elizaos publish --help for a complete list of options.
When submitting a plugin to the elizaOS Registry, include:
- Working Demo: Screenshots or video of your plugin in action
- Test Results: Evidence of successful integration and error handling
- Configuration Example: Show how to properly configure your plugin
Plugin Architecture
Eliza uses a unified plugin architecture where everything is a plugin - including services, adapters, actions, evaluators, and providers. This approach ensures consistent behavior and better extensibility.
Plugin Components
Each plugin can provide one or more of the following components:
| Component | Purpose |
|---|---|
| Services | Platform integrations (Discord, Twitter, etc.) or specialized capabilities |
| Actions | Executable functions triggered by the agent (reply, generate content, etc.) |
| Providers | Context providers that supply info to the agent during decision making |
| Evaluators | Analyze conversations to extract insights and improve future interactions |
| Adapters | Database or storage system integrations |
| Model Handlers | Register handlers for different model types (text generation, embeddings, etc.) |
| Event Handlers | React to system events like messages, connections, or actions |
| API Routes | Add custom REST endpoints to the agent's HTTP interface |
| Tests | Include test suites to verify plugin functionality |
Plugin Interface
All plugins implement the core Plugin interface:
interface Plugin {
  name: string;
  description: string;
  config?: { [key: string]: any };

  // Optional initialization method
  init?: (config: Record<string, string>, runtime: IAgentRuntime) => Promise<void>;

  // Components
  services?: (typeof Service)[];
  actions?: Action[];
  providers?: Provider[];
  evaluators?: Evaluator[];
  adapters?: Adapter[];

  // Additional features
  routes?: Route[];
  tests?: TestSuite[];
  events?: { [key: string]: ((params: any) => Promise<any>)[] };
}
Service Implementation
Services are the core integration points for external platforms. A properly implemented service:
import { Service, IAgentRuntime } from '@elizaos/core';

export class ExampleService extends Service {
  // Required: Define the service type (used for runtime registration)
  static serviceType = 'example';

  // Required: Describe what this service enables the agent to do
  capabilityDescription = 'Enables the agent to interact with the Example platform';

  // Store runtime for service operations
  constructor(protected runtime: IAgentRuntime) {
    super();
    // Initialize connections, setup event handlers, etc.
  }

  // Required: Static method to create and initialize service instance
  static async start(runtime: IAgentRuntime): Promise<ExampleService> {
    const service = new ExampleService(runtime);
    // Additional initialization if needed
    return service;
  }

  // Required: Clean up resources when service is stopped
  async stop(): Promise<void> {
    // Close connections, release resources
  }

  // Optional: Custom methods for your service functionality
  async sendMessage(content: string, channelId: string): Promise<void> {
    // Implementation
  }
}
Plugin Structure
Each plugin repository should follow this structure:
plugin-name/
├── images/                # Branding assets
│   ├── logo.png           # Square logo (400x400px)
│   ├── banner.png         # Banner image (1280x640px)
│   └── screenshots/       # Feature screenshots
├── src/
│   ├── index.ts           # Main plugin entry point
│   ├── service.ts         # Service implementation
│   ├── actions/           # Plugin-specific actions
│   ├── providers/         # Data providers
│   ├── types.ts           # Type definitions
│   └── environment.ts     # Configuration validation
├── tests/                 # Test suite
├── package.json           # Plugin configuration and dependencies
└── README.md              # Plugin documentation
Plugin Entry Point
Your plugin's index.ts should export a Plugin object:
// Example plugin implementation
import { type Plugin } from '@elizaos/core';
import { ExampleService } from './service';
import { searchAction } from './actions/search';
import { statusProvider } from './providers/status';

const examplePlugin: Plugin = {
  name: 'example',
  description: 'Example platform integration for ElizaOS',
  services: [ExampleService],
  actions: [searchAction],
  providers: [statusProvider],
  init: async (config, runtime) => {
    // Perform any necessary initialization
    const apiKey = runtime.getSetting('EXAMPLE_API_KEY');
    if (!apiKey) {
      console.warn('EXAMPLE_API_KEY not provided');
    }
  },
};

export default examplePlugin;
Plugin Configuration
Your plugin's package.json should include an agentConfig section:
{
  "name": "@elizaos/plugin-example",
  "version": "1.0.0",
  "agentConfig": {
    "pluginType": "elizaos:plugin:1.0.0",
    "pluginParameters": {
      "API_KEY": {
        "type": "string",
        "description": "API key for the Example service"
      }
    }
  }
}
Environment Variables and Secrets
Plugins access configuration through the runtime with the following precedence:
- Character settings secrets (highest priority)
- Character settings
- Global environment settings
Access Pattern
// In your service implementation
const apiKey = runtime.getSetting('EXAMPLE_API_KEY');
const debugMode = runtime.getSetting('EXAMPLE_DEBUG_MODE'); // Returns boolean for "true"/"false" strings
Configuration in Character File
{
  "name": "MyAgent",
  "plugins": ["@elizaos/plugin-example"],
  "settings": {
    "example": {
      "enableFeatureX": true
    },
    "secrets": {
      "EXAMPLE_API_KEY": "your-api-key-here"
    }
  }
}
Bootstrap Plugin
The Bootstrap Plugin is a foundational component of ElizaOS that initializes the core functionality required for agents to operate. It's automatically loaded as part of the initialization process, establishing the minimum viable capabilities that all agents need.
export const bootstrapPlugin: Plugin = {
  name: 'bootstrap',
  description: 'Agent bootstrap with basic actions and evaluators',
  actions: [...],
  events: {...},
  evaluators: [...],
  providers: [...],
  services: [TaskService, ScenarioService],
};
The Bootstrap Plugin registers essential components across several categories to provide a foundation for all agents. These components can be extended by custom plugins.
- Actions
- Providers
- Services & Evaluators
- Event Handlers
| Action | Description |
|---|---|
replyAction | Generates and sends a response to a message |
followRoomAction | Enables an agent to actively follow a room |
unfollowRoomAction | Stops an agent from following a room |
muteRoomAction | Mutes notifications from a room |
unmuteRoomAction | Unmutes notifications from a room |
sendMessageAction | Sends a message to a specific room |
ignoreAction | Explicitly ignores a message |
noneAction | Acknowledges a message without taking action |
updateEntityAction | Updates properties of an entity |
choiceAction | Presents choices to users and handles responses |
updateRoleAction | Updates a user's role in a world |
updateSettingsAction | Updates agent or world settings |
| Provider | Description |
|---|---|
characterProvider | Provides the agent's personality and configuration |
recentMessagesProvider | Retrieves recent conversation history |
knowledgeProvider | Supplies factual information from the knowledge base |
timeProvider | Provides awareness of current time and date |
entitiesProvider | Supplies information about entities in the current context |
relationshipsProvider | Provides information about entity relationships |
factsProvider | Retrieves relevant facts from memory |
roleProvider | Provides role information within worlds |
settingsProvider | Supplies configured settings |
anxietyProvider | Informs agent of potential issues to be careful about |
attachmentsProvider | Handles media and file attachments |
providersProvider | Meta-provider with information about available providers |
actionsProvider | Meta-provider with information about available actions |
evaluatorsProvider | Meta-provider with information about available evaluators |
choiceProvider | Manages choice-based interactions |
capabilitiesProvider | Provides information about agent capabilities |
Services:
| Service | Purpose |
|---|---|
TaskService | Manages deferred, scheduled, and repeating tasks |
ScenarioService | Handles scenario-based interactions and testing |
Evaluators:
| Evaluator | Description |
|---|---|
reflectionEvaluator | Enables self-awareness and learning from interactions |
The Bootstrap Plugin registers handlers for key system events that enable the core message processing flow:
Core Events:
MESSAGE_RECEIVED- Processes new messages and generates responsesREACTION_RECEIVED- Tracks reactions to messagesVOICE_MESSAGE_RECEIVED- Handles audio messagesPOST_GENERATED- Creates social media contentMESSAGE_SENT- Logs outgoing messages
World Events:
WORLD_JOINED/WORLD_CONNECTED- Synchronizes data when joining worldsENTITY_JOINED/ENTITY_LEFT- Manages entity presence
Lifecycle Events:
ACTION_STARTED/ACTION_COMPLETED- Tracks action executionEVALUATOR_STARTED/EVALUATOR_COMPLETED- Monitors evaluator processingRUN_STARTED/RUN_ENDED/RUN_TIMEOUT- Manages message processing lifecycle
The message processing flow follows these steps:
- Receive message via
MESSAGE_RECEIVEDevent - Save message to memory
- Check if agent should respond
- If responding, compose state from providers
- Generate a response using the language model
- Process any actions specified in the response
- Run evaluators on the conversation
- Emit lifecycle events throughout the process
Extending Bootstrap Functionality
While the Bootstrap Plugin provides core functionality, it's designed to be extended by other plugins. Custom plugins can:
- Add new actions - Extend the agent's capabilities
- Register additional providers - Supply more contextual information
- Add evaluators - Create new ways to analyze and learn from interactions
- Handle additional events - React to more system events
- Initialize custom services - Provide new functionality
When working with plugins in relation to the Bootstrap Plugin:
- Don't modify bootstrap directly - Instead, create custom plugins to extend functionality
- Understand provider contribution - Know how each provider contributes to the agent's context
- Learn the core actions - Become familiar with the actions that all agents can perform
- Leverage event handlers - Use the event system for reactive behavior
- Extend, don't replace - Build on top of bootstrap functionality rather than replacing it
Developing a Plugin
When developing a new plugin, focus on these key aspects:
- Service Implementation: Create a solid service class following the pattern above
- Proper Error Handling: Handle API failures gracefully
- Type Definitions: Define clear interfaces and types
- Documentation: Include detailed setup instructions
- Tests: Add test cases for your functionality
Testing Your Plugin
During development, you can test your plugin locally:
# Start with your plugin
elizaos start --plugins=./path/to/plugin

# Or with a specific character
elizaos start --character=./characters/test.character.json --plugins=./path/to/plugin
Distribution & PR Requirements
When submitting a plugin to the elizaOS Registry, include:
- Working Demo: Screenshots or video of your plugin in action
- Test Results: Evidence of successful integration and error handling
- Configuration Example: Show how to properly configure your plugin
- Quality Checklist:
- Plugin follows the standard structure
- Required branding assets are included
- Documentation is complete
- GitHub topics properly set
- Tests are passing
- Includes error handling
FAQ
What exactly is a plugin in ElizaOS?
A plugin is a modular extension that adds new capabilities to ElizaOS agents, such as API integrations, custom actions, or platform connections. Plugins allow you to expand agent functionality and share reusable components with other developers.
When should I create a plugin versus using existing ones?
Create a plugin when you need custom functionality not available in existing plugins, want to integrate with external services, or plan to share reusable agent capabilities with the community.
How do I manage plugin dependencies?
Plugin dependencies are managed through your project's package.json. You can add plugins directly using npm or the ElizaOS CLI, and they will be automatically loaded when your project starts.
Can I use a plugin in development before publishing?
Yes, you can use the --plugins flag with the start command to include local plugins during development:
elizaos start --plugins=./path/to/plugin
What's the difference between Actions and Services?
Actions handle specific agent responses or behaviors, while Services provide platform integrations (like Discord or Twitter) or ongoing background functionality that multiple actions might use.
How do I handle rate limits with external APIs?
Implement proper backoff strategies in your service implementation and consider using a queue system for message handling to respect platform rate limits.